

Los Desperados Guide: Reclaim El Corona with Cesar
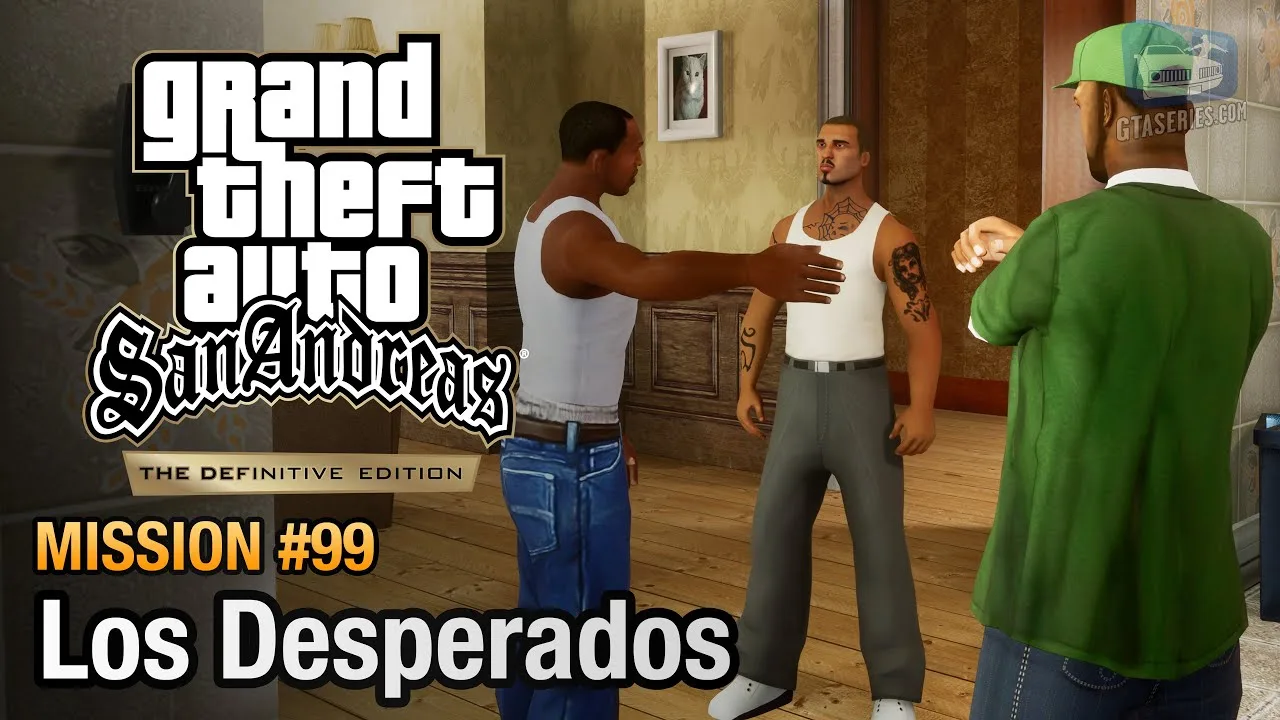
The city of Los Santos is burning. Following Officer Tenpenny's shocking acquittal, violent riots sweep the streets. In the middle of this chaos, Cesar Vialpando needs help to reclaim his neighborhood from the Vagos. You need to recruit a squad, clear the alleys, and retake his home. Read this gta sa los desperados guide to learn the best strategies to survive the heavy street warfare.
- Client: Sweet / Cesar Vialpando
- Location: Grove Street -> El Corona
- Target Difficulty: Hard
- Reward: Respect + Unlocks End of the Line
- Required Weapons: RPG / Rocket Launcher, M4, Sniper Rifle, Full Body Armor
Story Background and Mission Briefing
The Los Santos riots create the perfect opportunity for the Varrios Los Aztecas to strike back. Cesar arrives at Grove Street and asks CJ for assistance. He wants to liberate El Corona from the Vagos gang so his people can return home. Sweet agrees that CJ should help their ally. The mission requires you to build a small army and engage in intense urban warfare through the narrow streets and back alleys of El Corona.
Recruiting the Grove Street Squad
The first step is gathering your forces. You need to recruit two Grove Street homies in Ganton before heading out. Walk up to any gang members wearing green clothing. Use the target button to aim at them, then press the recruit button (D-pad Up on consoles or the G key on PC). They will follow you and enter your vehicle.
Once your squad is assembled, find a spacious four-door vehicle. Drive to Unity Station to rendezvous with Cesar and his veteran Aztecas fighters: Sunny, Gal, and Hazer. From there, you march into El Corona on foot.
Street War Phase 1: Advancing Down El Corona
The battle begins on the main street of El Corona. You face heavily armed Vagos gang members firing from porches and rooftops. Advancing down El Corona street behind vehicle cover is crucial. Do not run straight down the middle of the road. Use the parked cars and low walls to protect yourself.
Pick off the Vagos systematically. Prioritize the enemies on the raised porches, as they have better firing angles. Your Grove Street homies and Cesar's crew will provide suppressive fire, but you must lead the push. Equip your M4 and aim for headshots to conserve ammunition. Keep an eye on your team's health bars on the screen.
Street War Phase 2: The Alleyway Meatgrinder
After clearing the first street, Cesar leads the group into a narrow alleyway. This is the most dangerous part of the mission. We call it the alleyway meatgrinder. The area offers minimal cover, and enemies pour out of the garages.
The biggest threat here is the heavy weapons specialist. Watch for the Vagos sniper on the roof holding an RPG-7. He is positioned on the central garage building. Take him down immediately with an assault rifle or Sniper Rifle before he wipes out your entire squad. A single rocket can kill Cesar or Hazer, resulting in an instant mission failure. Once the rocket threat is neutralized, use grenades to flush out the remaining Vagos hiding in the side yards.
Street War Phase 3: The Garages and Cul-de-sac
The final push takes place in the back alleys and the cul-de-sac behind Cesar's house. The Vagos send everything they have left to stop you. You are now clearing Vagos armed with flamethrowers and Molotov cocktails.
Maintain your distance. Fire from the enemy weapons can drain your health in seconds. If a Vagos member throws a Molotov, retreat and let the fire burn out before pushing forward. Use your RPG to blast groups of enemies clustering near the garage doors. Do not let them flank your position.
Protecting Your Allies
Protecting Hazer and Cesar is your main priority throughout the entire mission. You must keep their health bars above zero by aggressive forward fire. Draw the enemy attention toward yourself. Since you have body armor and better weapons, you can survive hits that would kill your allies. If you see Hazer taking heavy damage, step in front of him and eliminate his attackers. Once the final Vagos member falls, Cesar reclaims his house, and the mission ends in victory.
Pro Tips for Success
Always recruit homies armed with SMGs or Desert Eagles, as they deal much more damage than those carrying basic pistols. Bring maximum body armor and do not hesitate to use heavy weapons in tight spaces. Keep your Sniper Rifle ready during the alley phase specifically for the RPG enemy. Avoid blowing up cars near your allies, as the splash damage can kill them instantly.
We've included a video to show you exactly how to execute these steps.
Frequently Asked Questions
Here are some common questions players have about this mission.
How do I recruit Grove Street homies in Los Desperados?
Aim at any Grove Street gang member in green clothing and press D-pad Up or the G key on PC to recruit them into your squad.
Where is the RPG sniper located in El Corona?
During the alleyway phase, the Vagos sniper with the RPG is located on the roof of the central garage building. Take him out immediately to save your team.
What happens if Cesar dies during the mission?
If Cesar's health bar drops to zero, the mission fails instantly. You must protect him by pushing forward aggressively and drawing enemy fire.
Which weapons are required for Los Desperados?
You need an RPG or Rocket Launcher to counter enemy heavy weapons, an M4 for medium range, a Sniper Rifle for roof clearings, and full body armor.
Why are there riots during Los Desperados?
The riots began because corrupt Officer Tenpenny was acquitted of all charges. The city descends into chaos, creating the backdrop for reclaiming the gang territories.