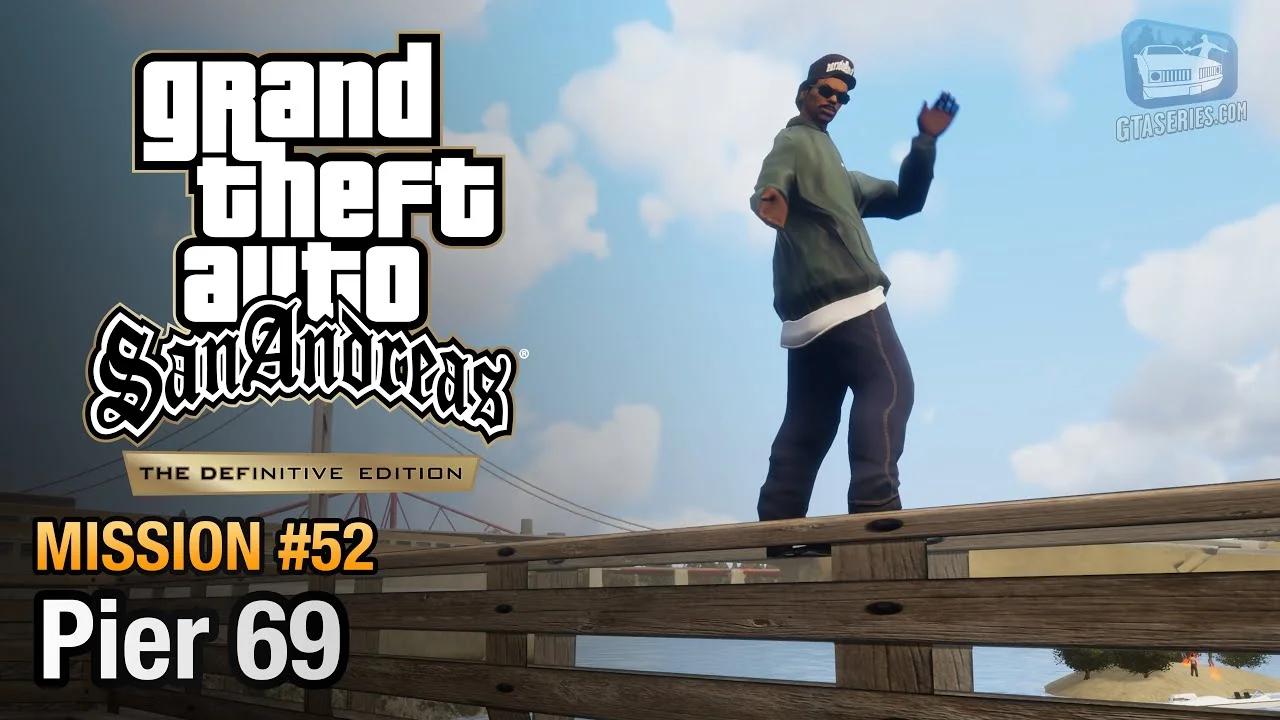
"It's time to settle accounts, Carl. T-Bone Mendez and your old friend Ryder are meeting right down there." - Cesar Vialpando
Pier 69 represents the ultimate payback against the Loco Syndicate in San Fierro. After weeks of gathering intelligence and working alongside Wu Zi Mu's Mountain Cloud Triads, Carl Johnson and Cesar Vialpando launch a coordinated tactical strike on Pier 69 to intercept a major summit between the Ballas, the San Fierro Rifa, and drug kingpin T-Bone Mendez.
This mission combines tactical long-range sniper marksmanship, a fierce close-quarters pier shootout, and an ocean speedboat pursuit to settle a personal score with the traitor Ryder.
Mission Briefing and Setup
- Mission Giver: Cesar Vialpando / Wu Zi Mu (San Fierro)
- Location: Pier 69, Esplanade North, San Fierro
- Target Difficulty: Hard
- Reward: $15,000 cash, Respect +
- Required Loadout: Sniper Rifle (20+ rounds), M4 or AK-47, Combat Shotgun, Full Body Armor.
Recommended Weapons and Prep
Do not start Pier 69 without a long-range firearm:
- Free Sniper Rifle: Pick up the free Sniper Rifle on the roof of the hospital in Santa Flora or near the Gant Bridge overlook before meeting Cesar.
- Combat Shotgun: T-Bone Mendez has significantly higher health than normal NPCs and carries an SMG; a Combat Shotgun will stagger him immediately.
Step-by-Step Tactical Walkthrough
Phase 1: Rooftop Sniper Overwatch
Travel to Esplanade North in San Fierro. Head around the back of the building opposite Pier 69 and climb the external staircase to meet Cesar and the Triad sniper team on the roof:
- Crouch behind the brick rooftop parapet and equip your Sniper Rifle.
- Look across the avenue toward the roof of the Pier 69 complex. Six San Fierro Rifa guards are posted along the roof edge.
- Methodically eliminate the six guards with clean headshots, working from left to right. Take your time; as long as you stay crouched, the ground guards will not detect your position.
- Once the rooftop guards are neutralized, Triad strike teams assault the front gate of the pier.
Phase 2: Toreno's Aborted Landing
A cutscene triggers showing Mike Toreno's helicopter approaching the rooftop helipad. As the chopper descends, Toreno spots the bodies of his slain guards through the cockpit glass. He immediately aborts the landing and flies away north over the bay. Do not waste ammunition firing at the chopper; it is scripted to escape.
Phase 3: The Pier Assault & Eliminating T-Bone Mendez
Descend the roof stairs with Cesar and charge across the street into the pier entrance:
- Switch to an M4 assault rifle or Combat Shotgun. Clear out the Ballas and Rifa defenders taking cover behind tables and boardwalk souvenir stands.
- Push to the end of the wooden pier where T-Bone Mendez is holed up with armed bodyguards.
- Focus your fire directly on T-Bone. Pump three combat shotgun shells into his chest to trigger the cutscene where CJ and Cesar finish him off, kicking his body into the ocean.
Phase 4: Eliminating Ryder (The Easy Shortcut Trick)
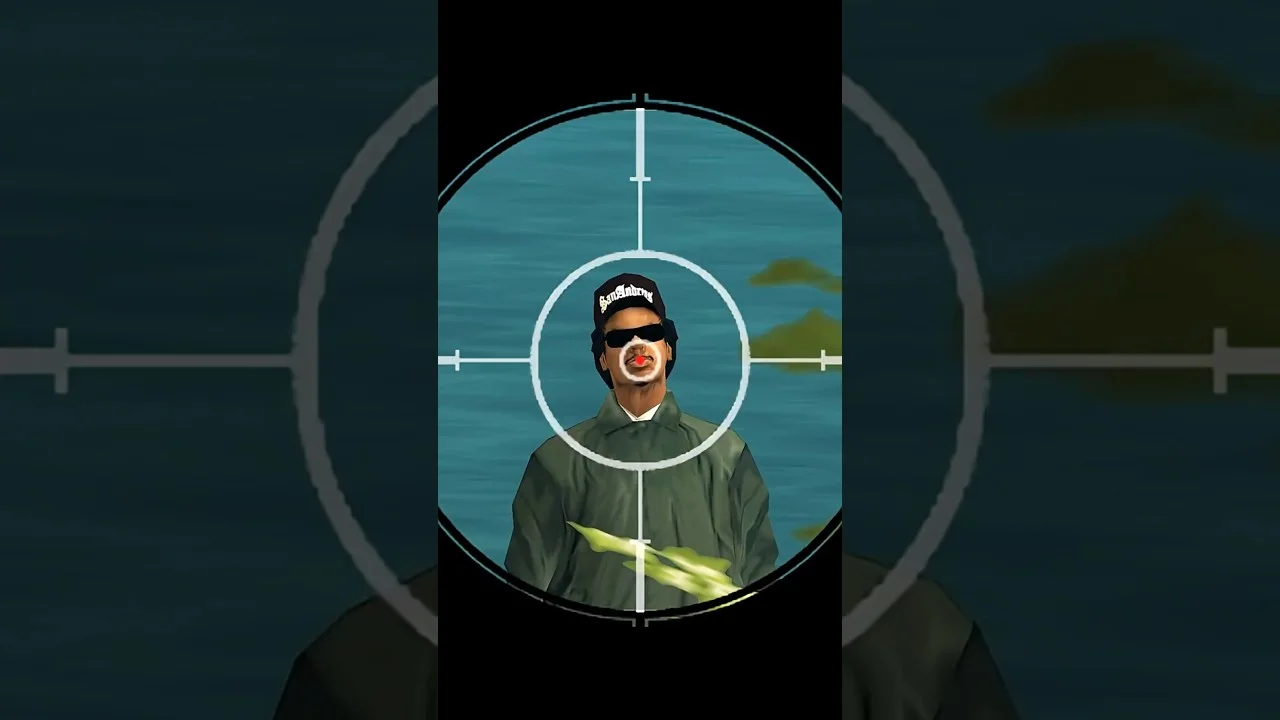
Upon seeing T-Bone killed, Ryder panics and dives off the pier into the bay to reach two speedboats moored below.
Most players jump into the water, climb into the second speedboat, and engage in a tedious, difficult open-water boat chase where Ryder throws satchel charges.
The Pro Shortcut: You do NOT have to chase Ryder by boat!
- The instant the cutscene ends, do not jump into the water. Stand at the edge of the pier railing.
- Equip your Sniper Rifle or M4 Assault Rifle.
- Zoom in on Ryder while he is swimming slowly toward the speedboat.
- Fire continuous bursts into him while he is in the water. Ryder has no cover in the bay and will die within seconds.
- If he manages to climb aboard the boat, shoot the boat engine directly from the pier. The boat will catch fire and detonate before it can accelerate out of range.
Mission Rewards & Story Progression
- Cash Reward: $15,000 added directly to your balance.
- Respect Bonus: Substantial Grove Street respect increase.
- Next Story Mission: Unlocks Toreno's Last Flight for Woozie, where CJ tracks down Mike Toreno's helicopter at the downtown downtown helipad.
Video Walkthrough: Pier 69
Frequently Asked Questions
How do you kill Ryder easily in Pier 69?
The fastest trick is shooting Ryder before he ever reaches his boat. As Ryder leaps off the pier into the water, immediately equip a Sniper Rifle, M4, or Combat Shotgun. Aim down at him swimming in the water and shoot him before he climbs aboard the second speedboat.
Can you shoot down Mike Toreno's helicopter in Pier 69?
No. When Toreno's helicopter approaches the helipad, Toreno spots the bodies of his slain guards and aborts his landing. The game script makes his helicopter invincible during this sequence; you will confront Toreno's helicopter later in the mission "Toreno's Last Flight".
Where is the best rooftop sniper position in Pier 69?
Climb the access stairs on the south side of the building directly across from Pier 69 to meet Cesar on the roof. Crouch along the roof ledge to gain complete elevation over the Rifa and Da Nang Boys sentries.
What weapons are recommended for Pier 69?
A Sniper Rifle with at least 25 rounds is essential for the opening phase. For the pier assault, bring an M4 or AK-47 assault rifle, a Combat Shotgun for close-range combat against T-Bone Mendez, and full body armor.
Does Pier 69 permanently eliminate Ryder from the story?
Yes. Ryder is killed during Pier 69, bringing an end to his betrayal of Grove Street. Following this mission, the Loco Syndicate is broken, leaving only the manufacturing plant in Doherty to be destroyed in "Yay Ka-Boom-Boom".