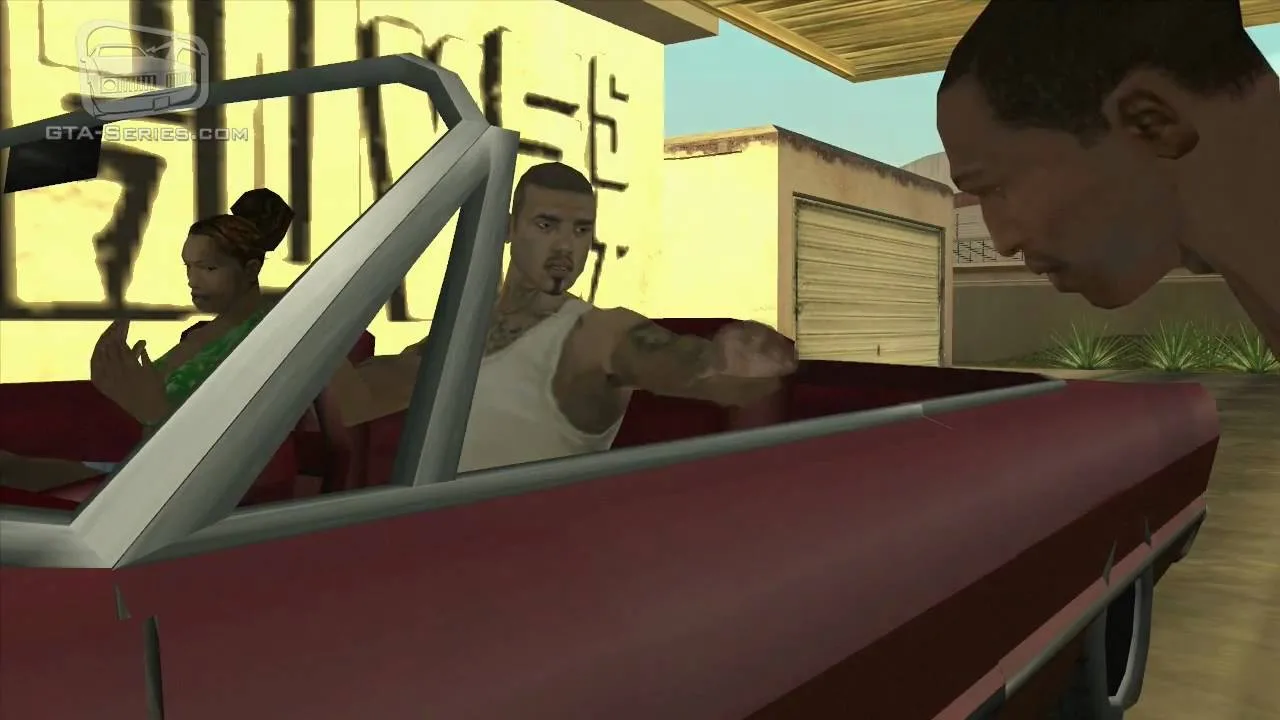
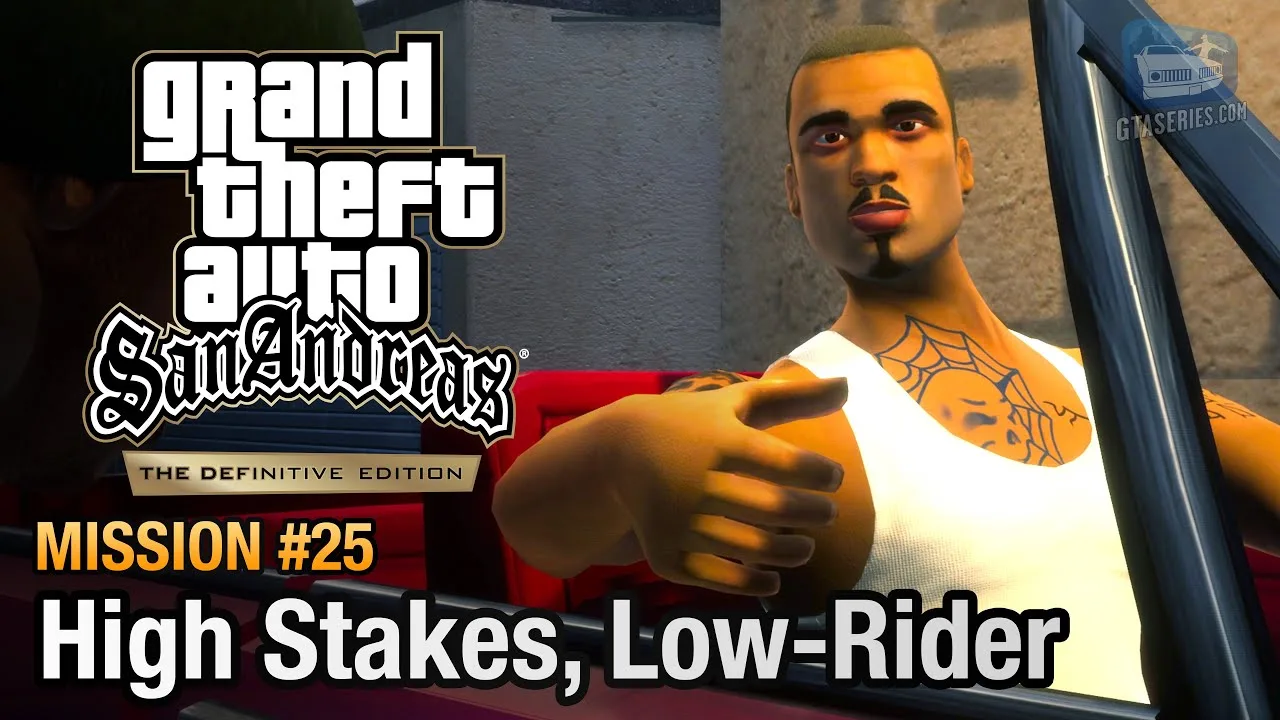
High Stakes, Low-Rider is the second mission given by Cesar Vialpando in Grand Theft Auto: San Andreas. Unlocked after completing the hydraulic bouncing challenge at Unity Station, this mission introduces illegal street racing across the varied districts of Los Santos.
Unlike standard chases where the player can simply blow up the opponent, this is a formal point-to-point sprint race against five aggressive AI competitors. With heavy traffic, tight 90-degree city corners, and rubber-banding AI mechanics, knowing where to brake, when to trigger nitrous, and how to avoid the opening pileup is critical for claiming the $1,000 cash prize.
Mission Briefing & Key Data
Storyline Context: Cesar's Racing Invitation
After Carl proves his driving coordination at Unity Station, Cesar calls Carl to propose a high-stakes street race. Cesar's fellow Varrios Los Aztecas gang members and local street racers have set up an illegal sprint course across the city, wagering cash on the outcome.
To participate, Carl must arrive in an authentic lowrider vehicle. If Carl shows up on foot, in a regular four-door sedan, or on a motorcycle, the mission marker will not activate, displaying a message instructing Carl to acquire a qualifying lowrider.
Vehicle Selection & Tuning Strategy
Your choice of vehicle makes a massive difference in handling and top speed:
- The Blade (Top Pick): The Blade is the fastest eligible lowrider in the game. It features superior acceleration, a responsive turning radius, and much stiffer body roll than the Savanna. You can frequently find a Blade parked in Garcia or cruising around El Corona.
- The Savanna (Standard Choice): The four-door Savanna provided during the previous mission handles adequately, but its long wheelbase makes it prone to fishtailing if you clip curbs at high speed.
- The Remington (Heavy Option): The Remington has great straight-line stability, but its heavy curb weight makes hard cornering sluggish in tight downtown intersections.
- Loco Low Co. Upgrades: Take your chosen vehicle to the modification shop in Willowfield before heading to the mission blip. Install 10x Nitrous ($1,000) and upgraded wheels (such as Switch or Dollar rims). Nitrous provides ten distinct bursts of rapid acceleration, perfect for overtaking rivals on long boulevards.
Step-by-Step Tactical Walkthrough
Phase 1: Meeting Cesar in Commerce
Drive your tuned lowrider to the "CV" icon in Commerce. Park in the illuminated red corona. Cesar pulls up in his custom red Savanna and instructs Carl to follow him to the starting grid.
Tail Cesar's car through the streets of Commerce. This transit stage is un-timed, so drive cautiously to avoid scratching your bodywork or damaging your steering alignment. Follow Cesar under the freeway overpass where five rival racers are staged along the starting line.
Phase 2: Navigating the Starting Grid Chaos
Pull into the empty slot on the starting grid. A traditional three-second countdown timer appears on screen: 3... 2... 1... GO!
Crucial Starting Strategy: Do not attempt to bulldoze your way through the pack off the launch. The five AI racers will aggressively swerve into each other, creating an immediate multi-car bottleneck at the first intersection.
Hold a steady line slightly behind or to the outside of the pack. As the AI drivers slam into street curbs and lamp posts on the first two turns, slip past their spinning cars on the inside line. By the third checkpoint, you should comfortably hold 2nd or 1st position without taking body damage.
Phase 3: Sector-by-Sector Route Breakdown
Sector 1: Downtown to Market (Checkpoints 1 to 8)
The initial leg winds through the commercial towers of Downtown Los Santos into the Market shopping district. The streets here feature sharp 90-degree right and left hand corners:
- Brake roughly two car lengths before each intersection.
- Release the brake, turn the steering smoothly, and apply throttle only after the car straightens out.
- Watch out for civilian cross-traffic; civilian cars obey green lights and will pull straight across intersections in front of you.
Sector 2: Rodeo Boulevard Straightaway (Checkpoints 9 to 15)
As you enter the Rodeo luxury shopping district, the course opens into wide, multi-lane boulevards. This is your primary passing zone:
- Line up your vehicle in the center lane to avoid parked cars along the sidewalk.
- Tap your Nitrous button to unleash a massive burst of straight-line speed.
- Keep your steering inputs tiny while boosting; abrupt steering during nitrous acceleration will cause the lowrider's rear end to break loose into an uncontrollable spin.
Sector 3: Marina Canals & Verona Beach (Checkpoints 16 to 22)
The route transitions into the winding residential corridors bordering the Marina canals and Verona Beach:
- These roads feature gentle curves bordered by concrete bridge barriers and palm trees.
- Do not cut corners too aggressively over curbs; lowriders sit very close to the ground, and hitting a raised curb will launch your car into a roll or flip it upside down.
- Maintain roughly 75% throttle through these curves to preserve traction.
Sector 4: Santa Maria Beach Pier Final Sprint (Checkpoints 23 to 26)
The final stretch leads straight down the coastal boulevard toward the Santa Maria Beach amusement pier. You will spot the finish line checkpoint hovering above the asphalt near the pier entrance.
Trigger your remaining nitrous charges. Accelerate flat out down the center asphalt. Cross the illuminated corona in 1st place to take the checkered flag and collect your $1,000 cash purse.
Common Failure Points & How to Avoid Them
1. Curb Rollovers
Lowrider chassis lack high ground clearance. If your outer tires hit a sidewalk curb while turning, the car will flip onto its roof. If an inverted car scrapes along the ground, the fuel tank ignites within three seconds. Stay on the asphalt pavement.
2. Ramming Opponent AI
Rival cars possess boosted collision mass. If you attempt a PIT maneuver against Cesar or another racer, their car will barely budge while Carl's lowrider will spin 360 degrees. Pass cleanly through braking zones instead of trading paint.
3. Missing Checkpoint Markers
Checkpoints must be collected in sequential order. If you overshoot a turn and skip a checkpoint, you must reverse and pass through it before the game registers future checkpoints. Keep your eyes on the directional arrows inside each corona.
Pro Tips & Shortcut Strategies
- The Plaza Cut in Downtown: Between checkpoints 5 and 6, there is a pedestrian brick plaza on the left corner. By clipping across the smooth brick walkway instead of taking the wide street arc, you shave two full seconds off your lap time.
- Feather the Throttle on Exit: Rear-wheel drive lowriders break traction easily when accelerating hard out of tight turns. Tap the throttle button repeatedly until the car gains forward momentum, then hold it down.
- Save Nitrous for the Beach: Keep at least two charges of nitrous for the final run from Verona Beach to Santa Maria. If Cesar is tailing you closely, boosting on the final straightaway prevents him from drafting past you.
- Keep Your Lowrider Afterwards: The modified Blade or Savanna you use for this race remains completely yours. Park it in your Ganton or El Corona garage after the mission to save your investment.
Video Walkthrough
Frequently Asked Questions
What is the best car to win High Stakes Low-Rider in GTA San Andreas?
The Blade is the best car choice. It offers superior top speed, tighter turning radiuses, and firmer suspension compared to the heavier Savanna or Remington lowriders.
Can you use nitrous during the High Stakes Low-Rider street race?
Yes. If you visit Loco Low Co. in Willowfield before triggering the race, you can install a 10x Nitrous bottle. Nitrous provides huge acceleration on long boulevard straightaways.
Why do rival lowrider cars knock CJ off the road so easily?
The opponent AI cars are coded with heavy artificial mass to prevent players from easily ramming them. Avoid side-swiping opponents; instead, brake early and pass them on inside corners.
What happens if Cesar Vialpando wins the race?
Carl must cross the final checkpoint in 1st place to pass. If Cesar or any rival AI racer crosses the line ahead of you, the mission results in failure and you lose the $1,000 prize.
Can you shoot rival racers during High Stakes Low-Rider?
Shooting at rival racers or exiting your car during the race automatically disqualifies Carl and triggers mission failure. You must win purely through driving skill.