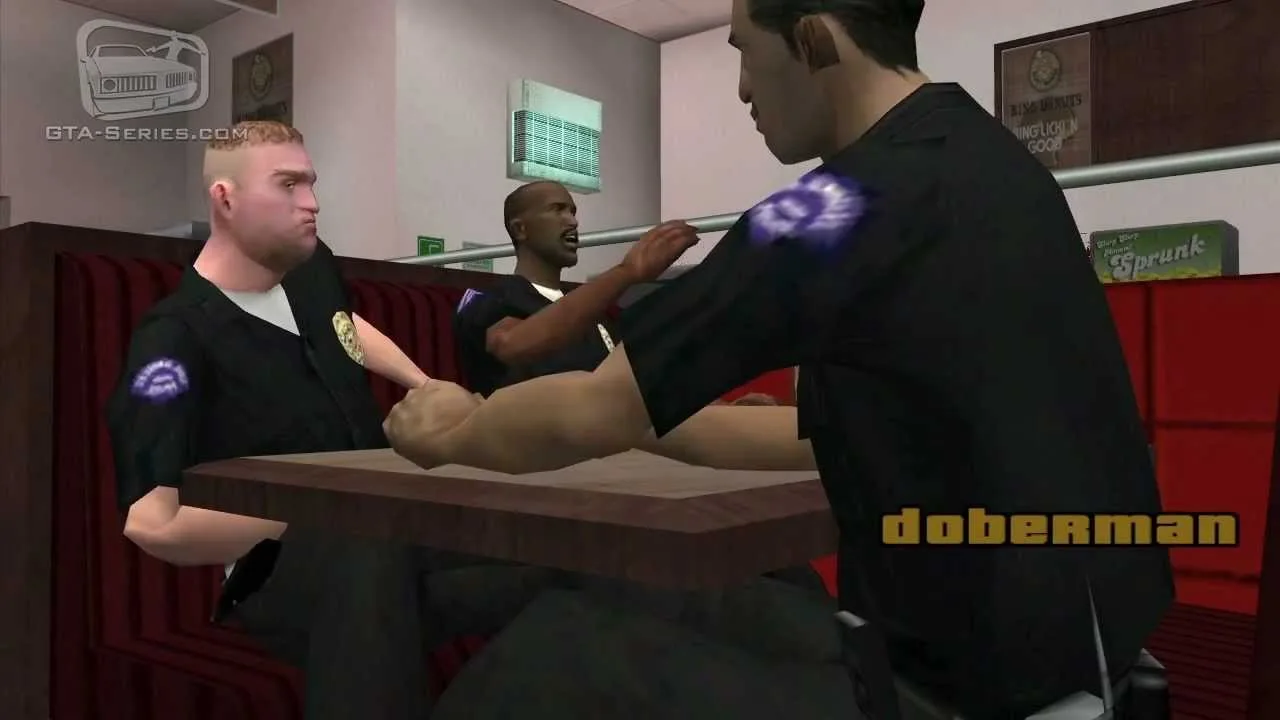
"That punk Little Weasel sold us out to the Ballas and Tenpenny. He's hiding in Glen Park. Take back the hood, Carl!" - Sweet Johnson
Our GTA SA doberman mission guide details everything you need to conquer Glen Park and master the turf takeover system in Grand Theft Auto: San Andreas. When Sweet learns that former Grove Street associate Little Weasel has turned traitor and aligned with the Ballas under C.R.A.S.H.'s protection, he decides enough is enough. Instead of a surgical hit, Sweet commands Carl to take the fight directly to enemy soil and claim Glen Park for Grove Street.
Doberman serves as the official introduction to San Andreas' signature Gang Warfare mechanic. By gearing up at Ammu-Nation, provoking hostile Ballas on foot, and repelling three waves of armed counter-attacks, you will unlock full neighborhood control across southern Los Santos and establish passive cash revenue for the Johnson family.
Mission Briefing
- Client: Sweet
- Location: Downtown Los Santos Ammu-Nation -> Glen Park
- Target Difficulty: Medium
- Reward: Respect + Turf Warfare Mechanics Unlocked
Story Background
Internal betrayal has plagued the Grove Street Families since Carl left for Liberty City. Little Weasel, a neighborhood hanger-on, turned informant for Officer Tenpenny and switched his loyalty to the Front Yard Ballas, setting up operations in Glen Park.
Glen Park is a symbolic Ballas stronghold located directly north of Ganton. For years, the purple-clad gang has used the park's tranquil lake and surrounding residential complexes as a staging ground to push crack into Ganton. By seizing Glen Park, Sweet intends to send a clear message: Grove Street is back, expanding its borders, and eliminating traitors without mercy.
Required Loadout & Preparation
The mission begins with a required stop at Ammu-Nation, but arriving with solid personal funding makes your arsenal much more formidable:
- Cash Reserve ($1,000 to $3,000): Needed to purchase Kevlar body armor and automatic ammunition at the Downtown gun shop.
- Micro SMG or SMG (MP5): The workhorse weapon for gang wars. High fire rate and quick reload times allow you to cut through squads before they close the distance.
- AK-47 or M4 Assault Rifle: Essential for Wave 3, where enemies spawn with heavy automatic weapons and engage from long distances across the park lawn.
- Full Body Armor: Always enter Glen Park with 100% armor. Even a single shotgun blast at close range can strip half your health without protection.
Step-by-Step Tactical Walkthrough
Phase 1: Arming Up at Downtown Ammu-Nation
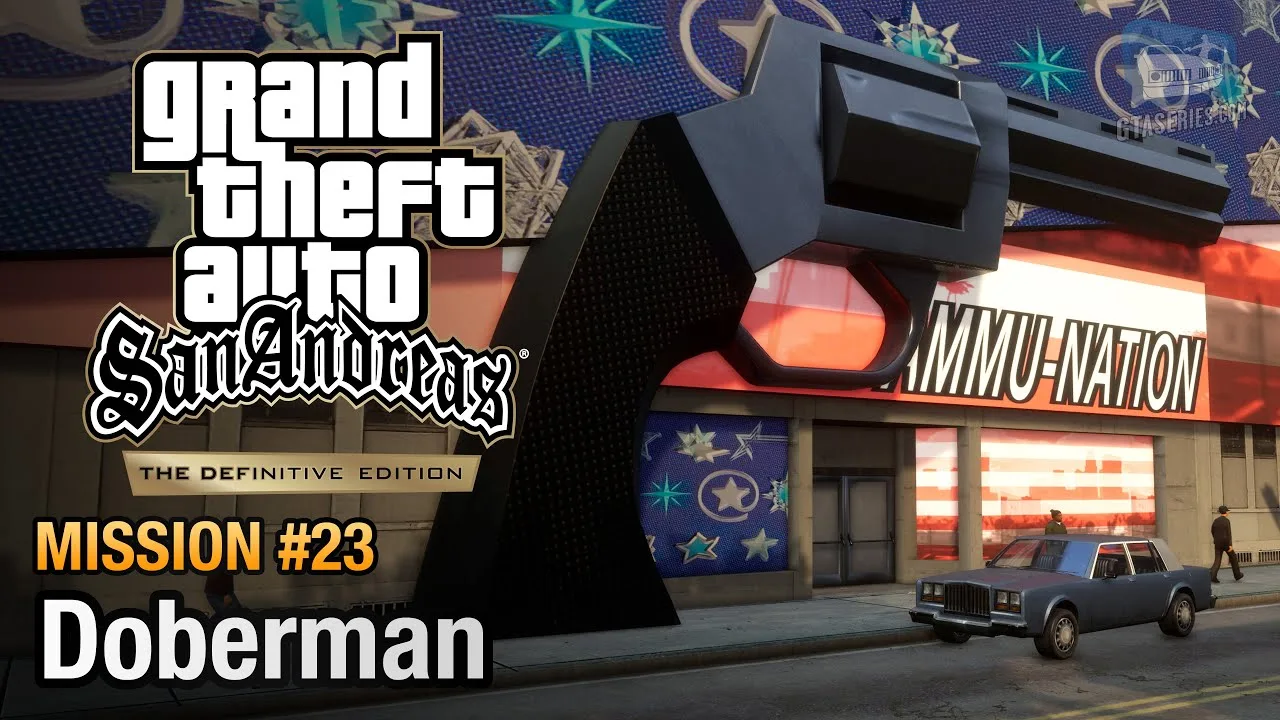
After receiving the telephone briefing from Sweet, get into a car and drive to the Ammu-Nation store in Downtown Los Santos. Step into the red marker outside the store entrance to enter the retail lobby:
- Walk up to the sales counter to trigger the inventory catalog.
- Purchase full Kevlar Body Armor ($200) to maximize your defense.
- Purchase additional Micro SMG or standard SMG ammunition so you have at least 600 rounds.
- Exit the store and return to your vehicle.
Phase 2: Infiltrating Glen Park
Drive south toward Glen Park. On your radar map, notice the distinct purple shading across the district, denoting Front Yard Ballas control.
Park your car along the outer perimeter of the park pond. Do not remain inside your vehicle; the core rule of San Andreas gang warfare requires you to be on foot.
Phase 3: Provoking the Gang War
To initiate the turf takeover, you must locate a group of at least three Ballas gang members walking together on foot within the purple territory lines:
- Look for groups standing on sidewalks or near the park benches wearing purple jackets and bandanas.
- Draw your weapon and eliminate all three gang members using foot-based gunfire.
- As the third gang member falls, the territory on your radar begins flashing red, accompanied by a signature audio sting. The gang war has officially begun.
Phase 4: Surviving the Three Waves
Wave 1: Pistols and Melee Rush
The first wave consists of eight to ten Ballas armed primarily with 9mm pistols and baseball bats. They spawn along the street and sprint straight toward you:
- Immediately fall back to the arched wooden footbridge spanning the center of the lake.
- Position yourself on the crest of the bridge. The narrow wooden deck forces the attackers into a single-file corridor.
- Use your 9mm handgun or Micro SMG to drop enemies as they charge up the wooden planks.
Wave 2: Micro SMG Reinforcements
The second wave upgrades enemy firepower. Attackers carry Micro SMGs and high-accuracy handguns, and they attempt to approach from multiple street corners:
- Before Wave 2 closes in, look out into the adjacent streets for glowing red heart icons and white armor shields. Sprint out quickly to collect them, then return to your bridge stronghold.
- Crouch on the bridge. Crouching significantly tightens your weapon crosshairs, allowing you to land headshots effortlessly before the Ballas can spray you down.
- Eliminate all hostiles to conclude the second wave.
Wave 3: Heavy Rifle Assault
The third wave represents maximum danger. Ballas spawn equipped with AK-47s and high-tier SMGs. They fire sustained bursts and will tear through your armor if you stand out in the open:
- Equip your AK-47 or MP5.
- Keep the bridge railing between Carl and the enemy firing line. Peek out to fire controlled three-round bursts at the nearest targets.
- Target enemies carrying AK-47s first to neutralize the biggest threat to your health.
- Once the final member of Wave 3 is eliminated, the territory on your radar changes from flashing red to solid green. Glen Park belongs to Grove Street.
Phase 5: Eliminating Little Weasel
As soon as the territory turns green, a brief cutscene shows Little Weasel running out of a nearby apartment building. Realizing his Ballas protectors are dead, he sprints down the street in a frantic attempt to escape:
- Weasel is armed with a handgun, but his primary goal is running away rather than engaging in a drawn-out shootout.
- Sprint after him along the pavement. Lock onto his back with your SMG or rifle.
- Fire a quick burst to take him down. Weasel collapses on the pavement, triggering the mission victory screen.
Understanding the Turf Warfare System
Completing Doberman unlocks the full territory conquest system across Los Santos. Keep these core mechanics in mind:
- Map Territory Shading: Green indicates Grove Street turf, purple represents Ballas, and yellow marks Los Santos Vagos turf. Darker shades indicate higher gang density and tougher defense waves.
- Hood Defense Alerts: Rival gangs will occasionally launch counter-attacks on your green territories. A flashing red radar icon indicates a hood under attack. You must travel to the zone and wipe out three enemy waves to retain control, or enter a safehouse to save the game to cancel the attack.
- Passive Daily Income: Every captured territory increases the daily cash payout generated outside CJ's house in Ganton. Walk into the green dollar-sign icon to collect your cash reserves.
Common Failure Points
- Starting the War from a Vehicle: Running over Ballas or shooting them from a car driver seat will not start a gang war. You must be on foot when you drop the three gang members.
- Standing in Open Streets during Wave 3: Standing exposed in the middle of the street during the AK-47 wave allows enemies to surround you and melt your health in two seconds.
- Missing Spawned Pickups: Ignoring the free health and armor hearts that spawn on the streets between waves leaves you critically wounded going into Wave 3.
- Letting Weasel Escape: Taking too long to spot Weasel after Wave 3 allows him to round the block and vanish, failing the objective.
Pro Tips for Success
- Hold the Arched Bridge: The Glen Park lake bridge is the greatest geographical advantage in the game. Enemies cannot flank you through the water; they must charge straight into your crosshairs.
- Harvest Dropped Weapons: Each fallen Balla drops an SMG or pistol with ammunition. Walking over their weapons during the fight will stock your inventory with thousands of free rounds.
- Crouch for Instant Headshots: When using an AK-47, crouching drops recoil to near zero. Line up crosshairs at chin height to eliminate charging enemies with a single tap.
Video Walkthrough
Watch this complete Doberman mission walkthrough to observe optimal bridge positioning, pickup management, and the exact steps to conquer Glen Park:
Frequently Asked Questions
Why didn't killing Ballas trigger the gang war in Glen Park?
To trigger a gang war, you must be on foot and kill at least three rival gang members within the borders of their territory. Kills made from inside a vehicle using drive-by fire will not start a turf war.
What is the best defensive position during the Glen Park gang war?
The arched wooden footbridge spanning the central pond is the best position. It funnels charging Ballas into a narrow single-file bottleneck and prevents enemies from flanking your rear.
Do health and armor items spawn during gang wars?
Yes. Between waves, glowing red heart icons (health) and white shield icons (armor) spawn directly on the asphalt along the perimeter streets of the contested zone.
How does Grove Street turf generate passive income?
Every green territory you control contributes to a daily cash dollar-sign pickup outside the Johnson house in Ganton. Controlling all available territories can generate up to $10,000 every in-game day.
Who is Little Weasel and where does he hide?
Little Weasel is a former Grove Street member who turned informant for C.R.A.S.H. and the Ballas. He hides inside a house overlooking Glen Park and runs into the street once Wave 3 is defeated.