
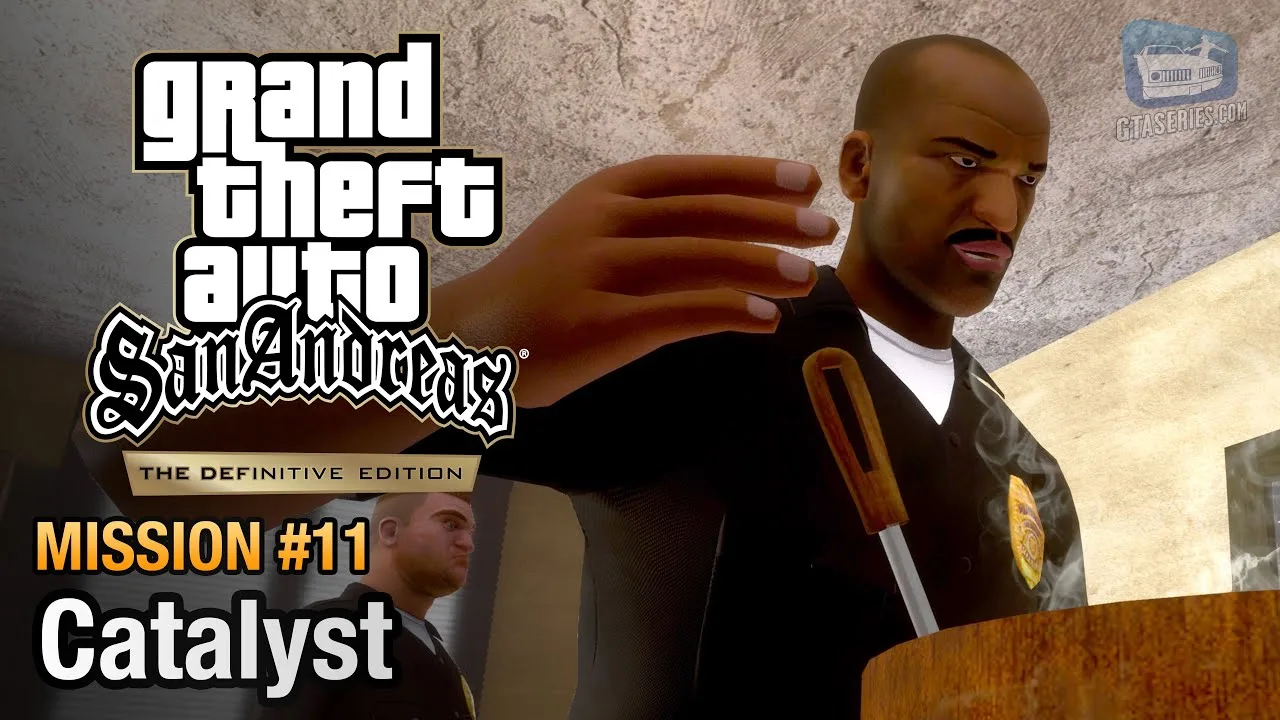
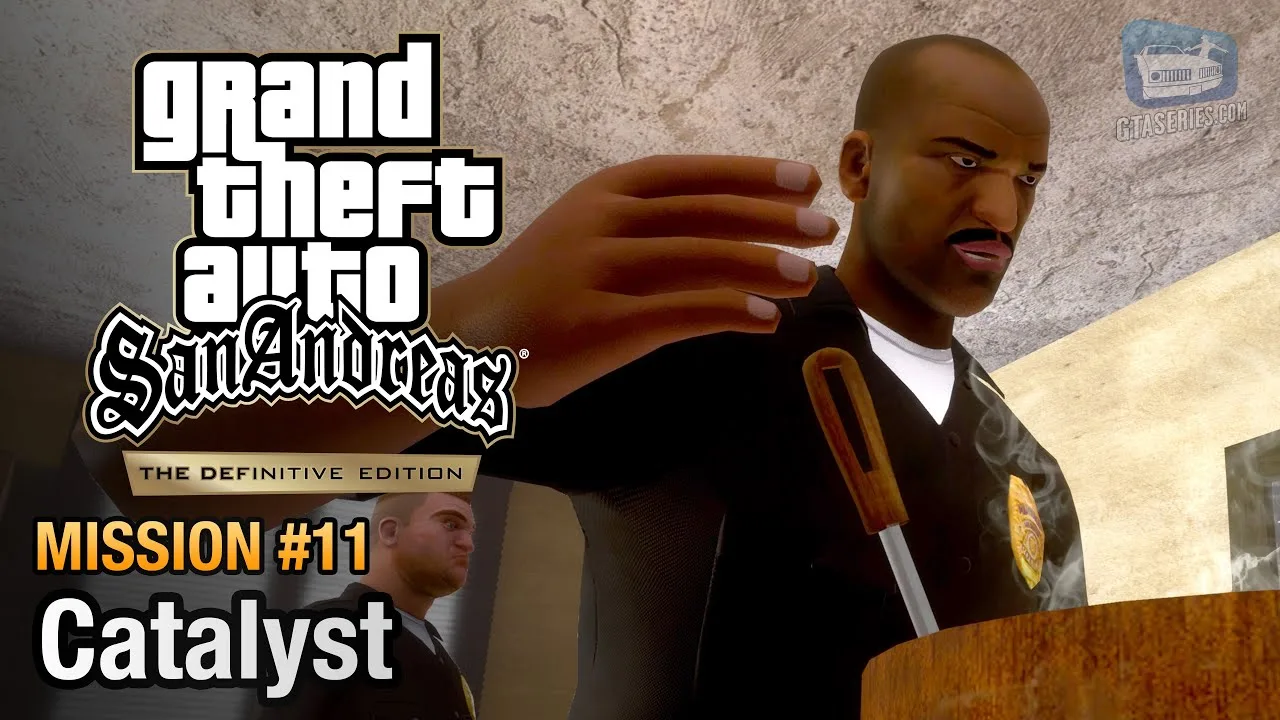
Our GTA SA Catalyst mission guide details every combat and minigame tactic required to succeed. Ryder is obsessed with getting heavy weaponry for Grove Street. He receives a tip from corrupt C.R.A.S.H. officers Tenpenny and Pulaski regarding a military train passing through East Los Santos. Unfortunately, the Vagos and Ballas gangs also got the same tip. In this mission, you must fight off rival gangs in a chaotic turf war, climb onto a moving train, and master a crate throwing minigame before escaping a high intensity police chase.
Mission Briefing
- Client: Ryder
- Location: East Los Santos Train Tracks
- Target Difficulty: Medium
- Reward: Respect
Story Background
The arms race in Los Santos is heating up. Ryder's desperate attempts to arm the Families lead him to strike a shaky deal with Tenpenny. A freight train loaded with ammunition has stalled in East Los Santos. However, the information was deliberately leaked to multiple gangs to spark violence. CJ and Ryder arrive to find a massive shootout already underway. CJ must assert dominance, secure the train, and extract the cargo to prove that Grove Street is a force to be reckoned with.
Required Loadout & Preparation
You are heading into a massive gang war. Bring an automatic weapon with a high fire rate, such as a Micro SMG or an AK-47. Body armor is highly recommended because you will face crossfire from multiple directions upon arriving at the train tracks. Make sure your health is fully topped off at a fast-food restaurant before triggering the mission marker at Ryder's house.
Step-by-Step Tactics
Step 1: Arrive at the Train Tracks
Drive Ryder's Picador truck to the train tracks in East Los Santos. As you pull up, you will witness the Los Santos Vagos gang swarming the stopped freight train. Exit the vehicle immediately and take cover behind the truck or nearby concrete barriers.
Step 2: Eliminate the Vagos
Equip your SMG and systematically take down the Vagos members. Use the crouching mechanic to improve your accuracy and reduce incoming damage. Pay close attention to enemies hiding behind the train cars. Once the final Vago gang member falls, a brief cutscene plays showing the Ballas arriving in a car to crash the party.
Step 3: Repel the Ballas Ambush
The Ballas roll in aggressively. Do not rush them; let them come to you while you maintain cover. Focus fire on one Balla at a time to thin their numbers quickly. If you have a well-placed grenade, toss it near their car as they exit for maximum area damage. Clear the remaining enemies to secure the train.
Step 4: The Crate Throwing Minigame
With the enemies defeated, step into the red marker at the back of the train. A cutscene triggers, and CJ climbs aboard. The train suddenly starts moving. You now enter a minigame where you must throw wooden ammo crates to Ryder, who is following in his truck.
Hold the fire button to build up throwing power. An on-screen power bar dictates the arc of the throw. Wait for Ryder's truck to align behind the train, charge the meter until it reaches the appropriate distance, and release. You need to land 10 crates in the back of the truck within a time limit (before the train leaves the city limits). Adjust your power based on Ryder's erratic driving.
Step 5: Escape the Wanted Level
Once you successfully throw 10 crates, CJ leaps from the train into the truck bed. The game instantly slaps you with a three-star wanted level. You are now in the driver's seat. Ignore the police cruisers ramming you; your sole objective is to reach the Pay 'n' Spray in Idlewood. Drive carefully to avoid flipping the truck. Once resprayed, the heat is off. Drive Ryder back to Grove Street to conclude the mission.
Common Failure Points
- Dying in the Crossfire: Rushing blindly into the Vagos or Ballas groups will get CJ killed in seconds. Always use cover and crouch.
- Missing Too Many Crates: The train minigame has a hidden timer based on the train's route. If you miss too many throws, the train crosses the bridge out of Los Santos, and the mission fails.
- Wrecking Ryder's Truck: During the three-star police chase, the cops are highly aggressive. Crashing head-on into traffic or flipping the Picador will end your run instantly.
Pro Tips for Success
- Explode the Enemy Cars: When the Ballas arrive, focus fire on their vehicle's gas tank. The explosion will wipe out most of the squad immediately.
- Learn the Throw Timing: Do not charge the throw bar to maximum power every time. A 50% to 75% charge is usually perfect for landing the crate directly in the truck bed.
- Pre-Plan Your Escape Route: As soon as CJ lands in the truck, pause the game and place a manual map waypoint on the Idlewood Pay 'n' Spray to guide your frantic escape.
Video Walkthrough
Watch the full Catalyst mission playthrough below to study the crate throwing minigame timing and the optimal shootout positioning:
Frequently Asked Questions
How do I throw the crates accurately to Ryder?
Hold down the throw button to charge the power meter. Watch the targeting arc, and release the button when the arc lands perfectly in the bed of Ryder's pickup truck.
Why do the crates keep bouncing out of the truck?
If you throw the crate with too much power, it will hit the cab of the truck and bounce out. Adjust your timing and release the charge meter slightly earlier.
What weapons are best for clearing the train tracks?
An AK-47 or an SMG is perfect. The Vagos and Ballas are heavily grouped, so a rapid-fire weapon will allow you to clear the area before they deal too much damage to CJ.
Do I have to kill all the Vagos and Ballas?
Yes, you must eliminate both rival gang groups entirely before the game allows you to approach the back of the train and trigger the crate-throwing sequence.
How do I lose the cops at the end of Catalyst?
The game provides a three-star wanted level. Follow the radar to the nearest Pay 'n' Spray, drive inside to repaint the truck, and then cruise back to Grove Street safely.