Replacing San Andreas's fictional 1990s vehicles with real-world supercars, tuned JDM imports, and custom character models is one of the most exciting aspects of playing on mobile. Whether you want to swap the Infernus for a Lamborghini Aventador, turn the Sultan into a twin-turbo Nissan Skyline R34, or replace CJ with modern HD character skins, Android makes file replacement straightforward.
However, Android modding works differently than dragging files into a PC folder. Mobile installations require interacting with compressed container archives (gta3.img) and texture databases (gta3.txt). If you prefer a pre-configured installation with cars and menus already set up, check out our pre-modded GTA San Andreas Mod APK. Otherwise, follow this step-by-step tutorial to install any custom car mod cleanly on any modern Android device.
Understanding the Mod Files: DFF vs TXD
Every vehicle mod you download from modding repositories (such as GTAInside or GTAall) arrives inside a zip or rar archive containing two fundamental file formats:
- The .DFF File (3D Geometry): This file holds the physical 3D polygon model, wireframe shape, collision mesh, and door hinges (e.g.,
infernus.dff). It is installed using GTA IMG Tool. - The .TXD File or Texture Folder (Visual Skins): This file holds the painted colors, wheel rims, headlights, carbon fiber patterns, and interior leather textures. It is imported using TXD Tool.
Required Tools Checklist
Before starting, download these three essential mobile utilities:
- ZArchiver: An archive manager used to extract downloaded .zip/.rar mods and move files inside system storage folders.
- GTA IMG Tool (Android): The dedicated utility used to open, replace, and rebuild 3D meshes inside
gta3.img. - TXD Tool (Android): The specialized texture injector required to insert PNG images directly into the mobile cache databases.
- A Modded Car Package: Download any GTA SA car replacement designed for mobile (DFF under 10 MB is recommended for stable performance).
Step 1: Locating and Preparing Your Game Files
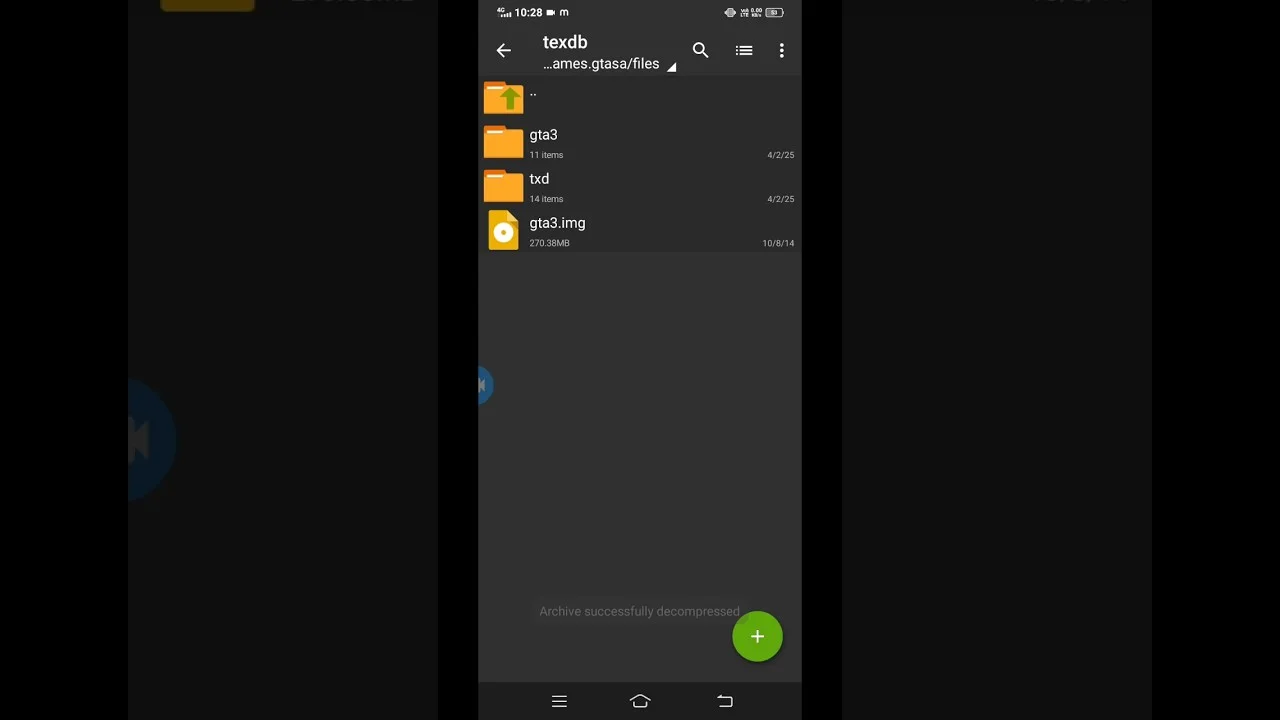
All GTA San Andreas Android data files live inside your phone's internal storage under:
Internal Storage/Android/data/com.rockstargames.gtasa/files/texdb/
Navigating Android 11 to Android 14 Scoped Storage
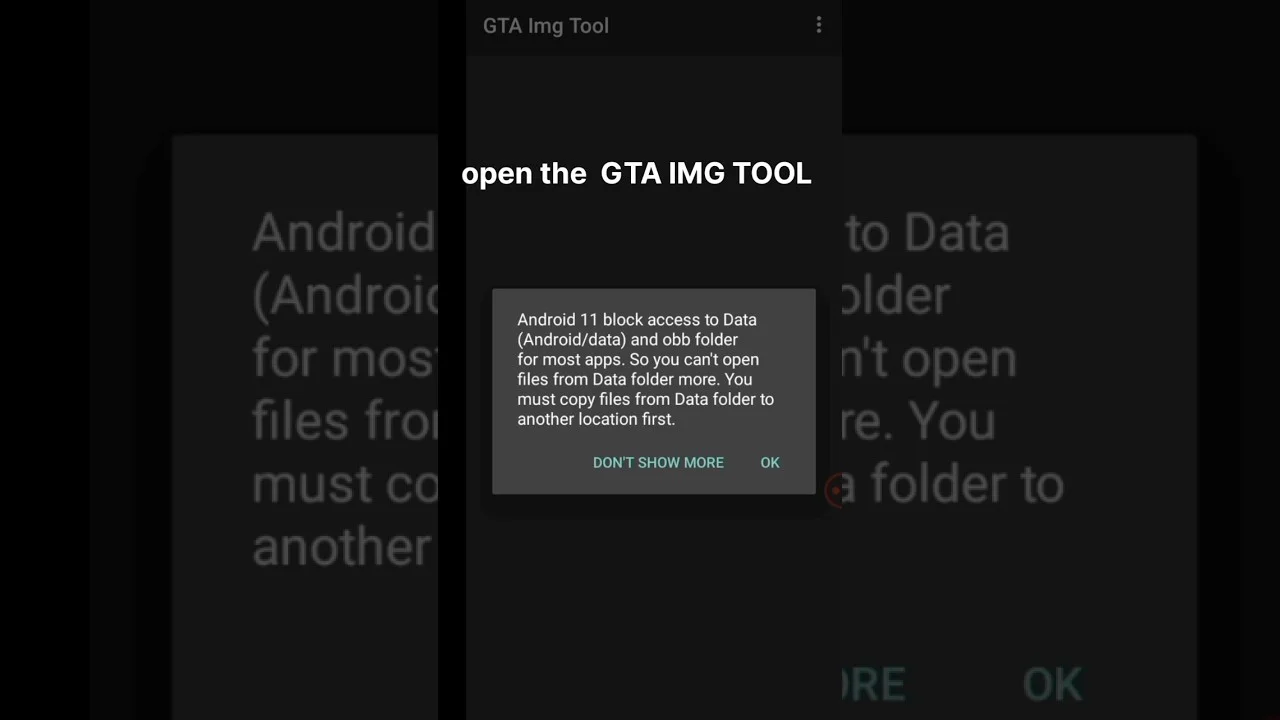
On Android 11, 12, 13, and 14, Google restricts file managers from browsing inside the Android/data folder directly. To access your game files:
- Method A (PC Connection): Plug your phone into a PC using a USB cable. Select "File Transfer / MTP" on your phone. Windows Explorer and macOS (via OpenMTP) can browse into
Android/data/com.rockstargames.gtasa/with zero restrictions. - Method B (Shizuku + ZArchiver): Install the Shizuku app from Google Play, enable Wireless Debugging in Android Developer Options, and link ZArchiver to Shizuku to grant full read/write access on-device.
Extracting gta3.img
If you have never modded your game before, you might find that the texdb folder does not contain a raw gta3.img file because it is packed inside main.obb.
To extract it: open ZArchiver, navigate to Android/obb/com.rockstargames.gtasa/, tap main.8.com.rockstargames.gtasa.obb, select "View", open the texdb folder inside the OBB, and copy the gta3.img file into your active directory at Android/data/com.rockstargames.gtasa/files/texdb/.
Step 2: Installing the 3D Vehicle Model (.DFF)
Now that your files are ready, use GTA IMG Tool to swap the vehicle shape:
- Launch GTA IMG Tool on your Android phone.
- Tap Open IMG and navigate to:
Android/data/com.rockstargames.gtasa/files/texdb/gta3.img. - Tap the search bar at the top and type the name of the vehicle you are replacing (for example:
infernus.dff). - Long-press the found
infernus.dffentry until the context menu appears. - Select Replace, then navigate to your Download folder where you extracted your custom car mod.
- Select the new modded
infernus.dfffile. The app will replace the old 3D model with the new one. - Critical Step: Tap the three dots menu icon in the top right corner of GTA IMG Tool and tap Rebuild. Wait 30 to 60 seconds until the archive is rebuilt. Skipping this step causes game crashes when the vehicle spawns in traffic.
Step 3: Importing Textures with TXD Tool
If you enter the game right now, your new car will appear completely white because the game engine has no paint or wheel textures assigned. We must inject the textures using TXD Tool:
- Open TXD Tool.
- Tap the folder icon at the bottom right, navigate to:
Android/data/com.rockstargames.gtasa/files/texdb/gta3/gta3.txt(orgta3.txd), and check the box to open it. - Tap the large pink "+" (Plus) floating action button at the bottom right.
- Select From Images, then choose either With Alpha or Without Alpha depending on your mod folder:
- With Alpha: Select this for transparent glass, headlight lenses, spoiler cutouts, and wheel spokes.
- Without Alpha: Select this for solid metal body paint, tires, dashboards, and license plates.
- Select all the image files provided with the mod.
- In the import settings popup, choose:
- Import Mode: Overwrite
- Check: Correct capital letters
- Uncheck: Disable Camuncode
- Tap OK and allow TXD Tool to process the texture textures into the cache database. Once it finishes, tap OK.
Step 4: Optional Handling and Sound Adjustments
High-end vehicle mods often include custom performance tuning lines in a text file titled handling.txt or readme.txt:
- handling.cfg: Governs top speed, engine acceleration, suspension stiffness, and braking bias.
- vehicles.ide: Governs wheel radius, wheel width, and headlight colors.
- carcols.dat: Governs which paint jobs spawn on civilian traffic.
To apply custom handling, open Android/data/com.rockstargames.gtasa/files/data/handling.cfg using any text editor, search for the vehicle name, and replace the single row of numbers with the mod creator's custom tuning values. If you want to spawn your custom car anywhere instantly to test your new handling, check our GTA San Andreas Mobile Cheats Guide to summon vehicles on command.
Troubleshooting Common Mobile Modding Errors
| Symptom | Root Cause | Solution |
|---|---|---|
| Car is completely white | Missing textures in gta3.txt | Re-open TXD Tool and import textures into gta3.txt using Overwrite mode. Verify GPU texture format (etc vs dxt). |
| Game crashes on loading screen | Corrupted gta3.img or unrebuilt archive | Open GTA IMG Tool, select Rebuild. If crashes continue, restore original backup gta3.img. |
| Wheels sink into the pavement | Default wheel radius does not fit mod | Update the wheel scale entry inside data/vehicles.ide to match the mod creator's specifications. |
| Severe stutter when car approaches | Polygon count exceeds mobile GPU limits | Choose lightweight DFF models (under 5 MB to 8 MB) optimized specifically for mobile platforms. |
Frequently Asked Questions
Do I need root access to install car mods on GTA San Andreas Android?
No. Root access is not required. You can install custom vehicles, handling files, and textures using standard Android applications like GTA IMG Tool, TXD Tool, and ZArchiver.
Why are my modded cars appearing completely white in GTA SA Android?
White or missing textures occur when the vehicle textures were not imported into the correct GPU texture database (such as etc, dxt, or pvr), or when textures were imported without separating With Alpha and Without Alpha files inside TXD Tool.
How do I access Android/data on Android 11, 12, 13, or 14?
Google restricted access to the Android/data directory in recent Android versions. To bypass this restriction, connect your phone to a PC via USB cable (file transfer mode), or use the ZArchiver app paired with the Shizuku wireless debugging permission tool.
Why does GTA San Andreas crash after installing a custom car?
Crashes usually happen because you forgot to tap "Rebuild Archive" in GTA IMG Tool after replacing the DFF file, or because the mod has a polygon count too high for mobile RAM limits. Always rebuild the archive and keep a backup of original files.
Can you install DFF car mods without using a computer?
Yes. Entire vehicle replacements can be completed directly on your mobile device using the free Android versions of GTA IMG Tool and TXD Tool available on Google Play or reputable APK repositories.